Content Studio 5 min read Updated Feb 2026
Mastering the Image Editor
Edit and fine-tune images with precision tools like masking, plus AI-powered enhancements to improve quality and consistency.
AI Image Editor
Upload an image, then use AI-assisted tools to refine, transform, and enhance your visuals for the look and format you need.
How to Edit your Image
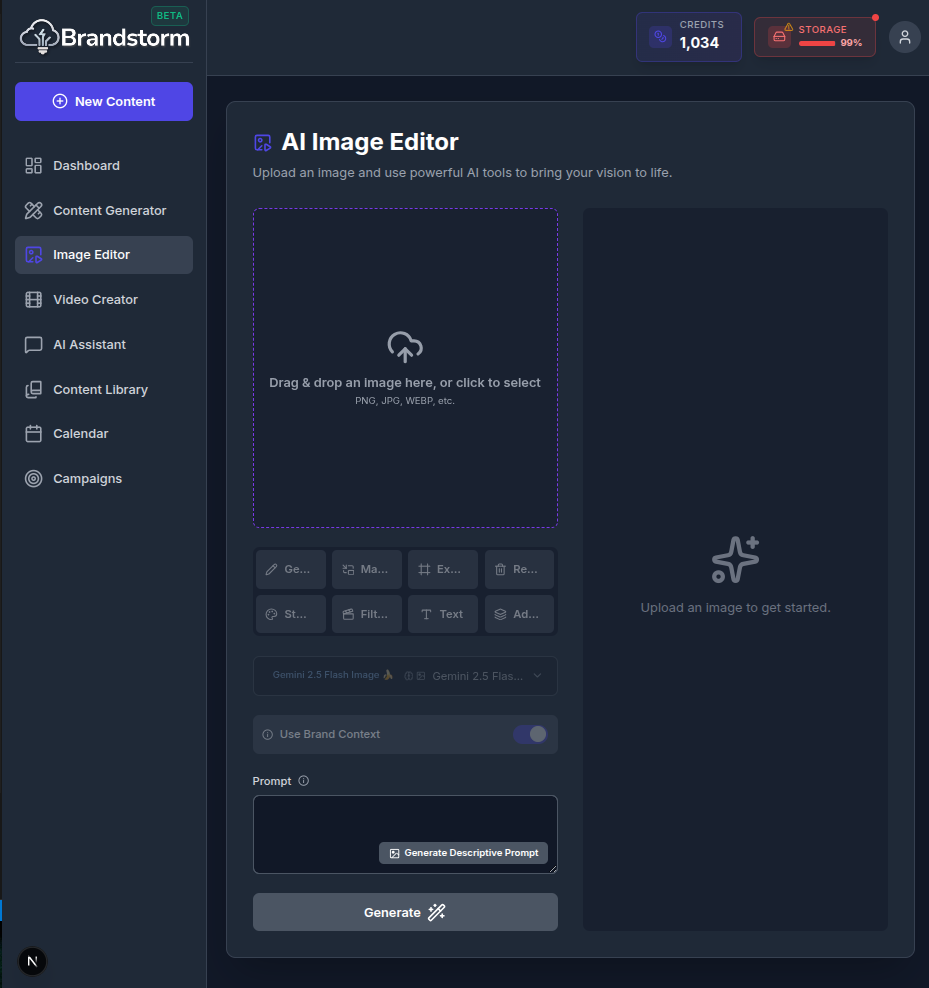
- Navigate to Image Editor.
- Choose an image from your Content Library, or quickly upload one by dragging and dropping it into the upload area.
- Choose an editing mode to get started, from Magic Fill to add, remove or replace elements, and Background Removal for clean cutouts, to Stylization or Filters to quickly change the look and feel.
- Enable Use Brand Context to automatically align images with your brand identity, helping AI tailor the style for a consistent look.
- Click Generate.
- When you’re ready, save or schedule your post.
🎥 Video Walkthrough Steps
(Use these steps to record the "Image Editor" screencast)
- Open Editor: Go to the Image Editor.
- Load Image: Click to upload an image or select one from the library.
- Demonstrate Masking:
- Select the Brush/Mask tool.
- Paint over an object in the image (e.g., a coffee cup).
- Type a prompt like "Red coffee mug" in the edit box.
- Click Generate Fill.
- Apply Filter: Click on the Filters tab and apply a filter (e.g., "Vivid").
- Save: Click the Save button.
Was this article helpful?